


Handy Tips for Flip Top Mitts from Kraemer Yarns
How do you keep your hands warm, but fingers at the ready to send a quick text message, tie a shoelace, or turn a key? Fingerless mitts! These projects are quick to complete and are super practical. Today we’d like to share a few of our tips for working fingerless mitts, spotlighting our Flip Top Mitts.

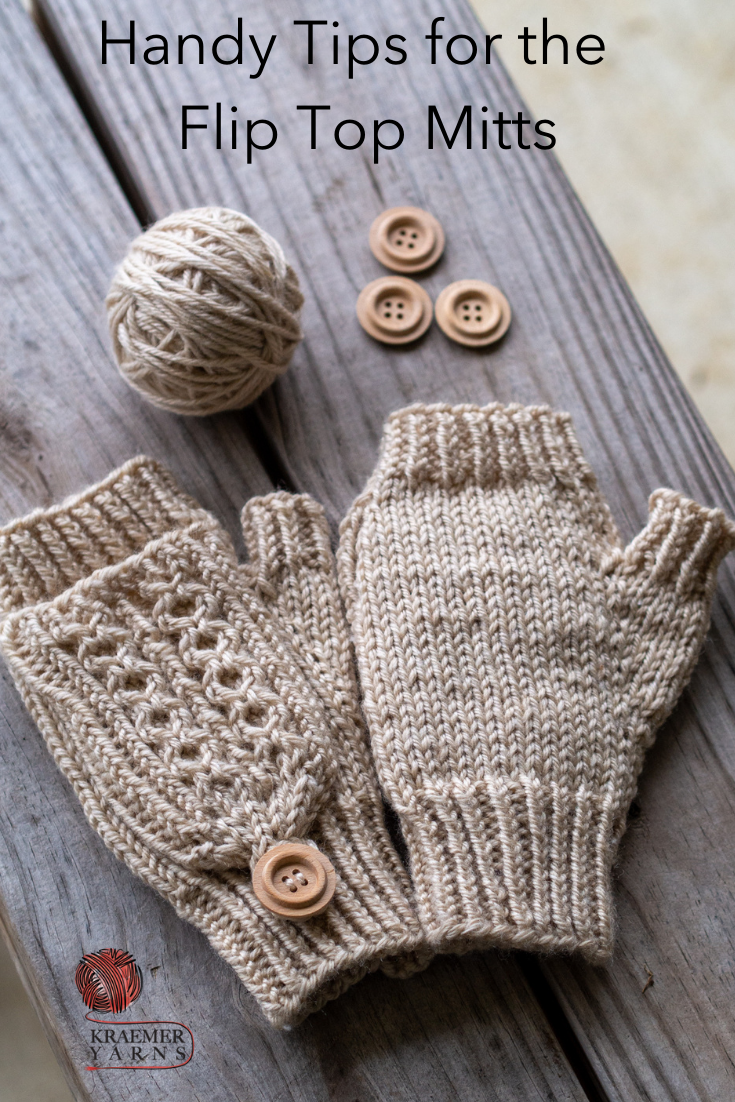
Vanessa Ewing’s Flip Top Mitts kit comes with the pattern and a skein of Perfection Worsted. Sizing is included for Toddler through Adult Large, and the height of the flip top mitten is easy to adjust for a truly custom fit! We’ve noticed many finished objects of this pattern in our Facebook group. One fan, Madeline, has already knit three pairs!

The pattern is suitable for an advanced beginner. There are a few techniques that may not be immediately familiar to you: backward loop cast-on and picking up stitches in the middle of your fabric. Just take it one stitch at a time!

Here we have knit the cuff and the increases for the thumb. We moved the gusset stitches (in between the stitch markers) to waste yarn for working them later. The backward loop cast on allows us to add a few stitches in the middle of the row to close up the gap.

When you come to the spot in the pattern where you are instructed to work the backward loop cast on, create a loop with the working yarn, insert the tip of the right needle through that loop, and snug the stitch up a bit by gently pulling the yarn. Repeat for as many stitches as are needed. Then, continue on! The gap will be closed and your thumb is separated from the body of the mitt.
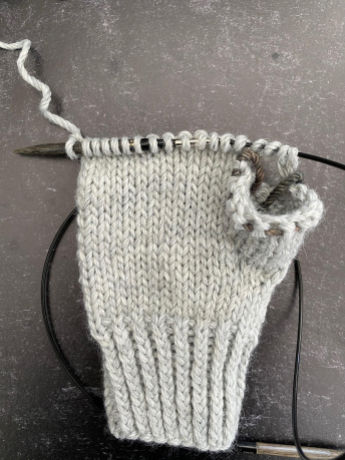
In this pattern, you’ll complete each hand before moving on to the flip top. You’ll cast on the number of stitches indicated in the pattern and then pick up stitches across the back of the hand. This step can be a little fiddly, but the end result is worth it!

As we need to pick up stitches from the knit fabric, we are picking them up across a row. Insert the needle into the middle of the stitch, bring it out towards you, insert your needle and knit it.

Do this across the row for the number of stitches needed, make sure to start at the side edge of your mitt! Be mindful to do this on the opposite side of your other mitt so you have one for the left hand and one for the right hand. You may find it useful to use a double pointed needle not only for picking up those stitches and to remind you which side to start on for that second mitt!

The cable pattern is worked on both sides of the flip top! The pattern also includes a thumb option to be fingerless (shown above) or as a traditional mitten thumb. It’s the knitter’s choice!
We have several different styles of fingerless mitts in ready to ship kits: DK Fingerless Mitts, Perfect Fit Fingerless Mitts, Chunky Fingerless Mitts, Cables & Textures Fingerless Mitts, and Crochet Ribbed Shell Mitts. They make great gifts for all ages. Make a set to tuck in each coat pocket!
Planning on making a pair of Flip Top Mitts? Pin this post:
