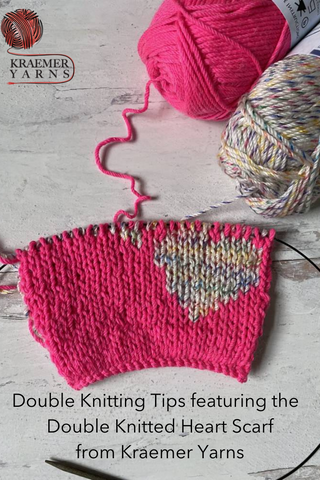


Colorwork Knitting Tips featuring the Feeling Groovy Tote
The Feeling Groovy Tote is a fun project to work with multiple colors of Kraemer Yarns Perfection Worsted or Tatamy Worsted. This is an intermediate level pattern, as you should be comfortable with the knitting basics of casting-on, knitting, and purling, and there is some additional finishing work required.

In our sample photographs, we’re using Tatamy Worsted in Playtime, Ginger, Baby Powder, Black, and Silver Tatamy Tweed Worsted.
If you’re brand new to colorwork knitting, we’d suggest you start by casting on the back of the tote first. This piece is a stockinette panel, all knit stitches on one side and all purls on the back. You’ll change colors to work a striped sequence of your selected colors.

A few tips:
Expect the panel to roll at the edges - that’s the nature of the stockinette fabric!
Leave a tail of 4-6” when changing colors to have enough length to work with when weaving in the ends!
You can cut the yarn each time you change color or you can carry up Color C (white in our sample).

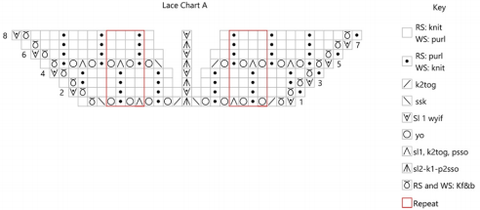
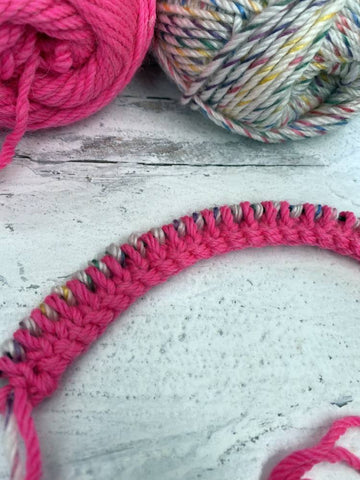
The front of the tote starts with another simple colorwork stripe and the placement of two stitch markers. The stitch markers set off the stitches you’ll work following the chart.

A few reminders to get started:
The chart is color-coded, and you’ll be knitting all stitches on the right side and purling all stitches on the wrong side in their designated color.
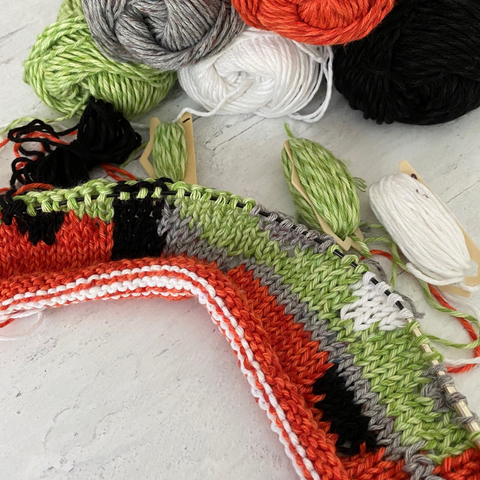
Wind yarn off the skein for the color blocks (either butterfly-style or around a bobbin). This will make working the color changes easier! We do not want to carry multiple colors across the back as you would in a stranded colorwork design - that will create too much bulk and puckering on the fabric.

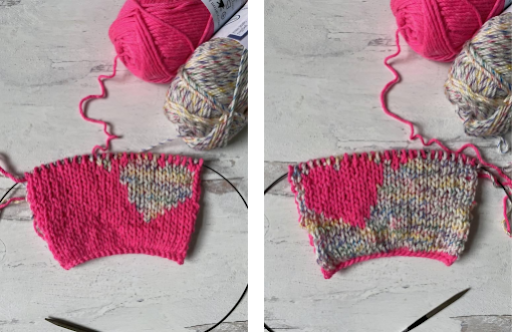
Remember, you’ll be knitting the right side on the odd numbered rows and purling on the wrong side, even-numbered rows. When you come to a color change in the chart you need to join in a new bobbin. Lay the first yarn over top of the new color yarn. Then grab the new color yarn, and knit across to the end of the row as usual. Only unravel the yarn as you need it so you don't get tangled! Holding the first yarn over the top of the new one will help twist the yarns together and avoid holes; use your thumb to hold the yarn ends in place for the first stitch or two to keep your tension even.
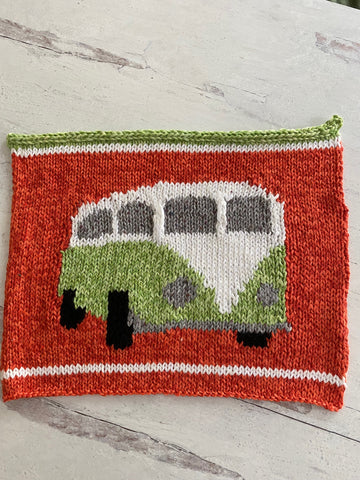
As you work through the chart, you’ll see the design emerge!

Expect a few tangles will happen. One tip that can help is to always turn your work in the same direction at the end of the right side row (clockwise) and then turn it the opposite direction at the end of the wrong side row (counterclockwise).


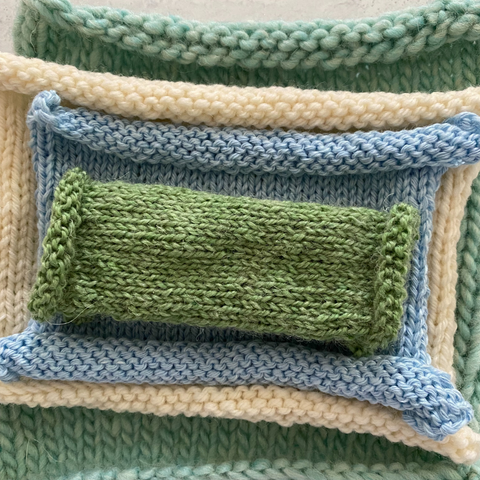
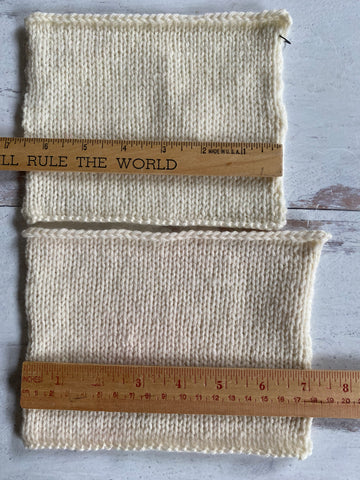
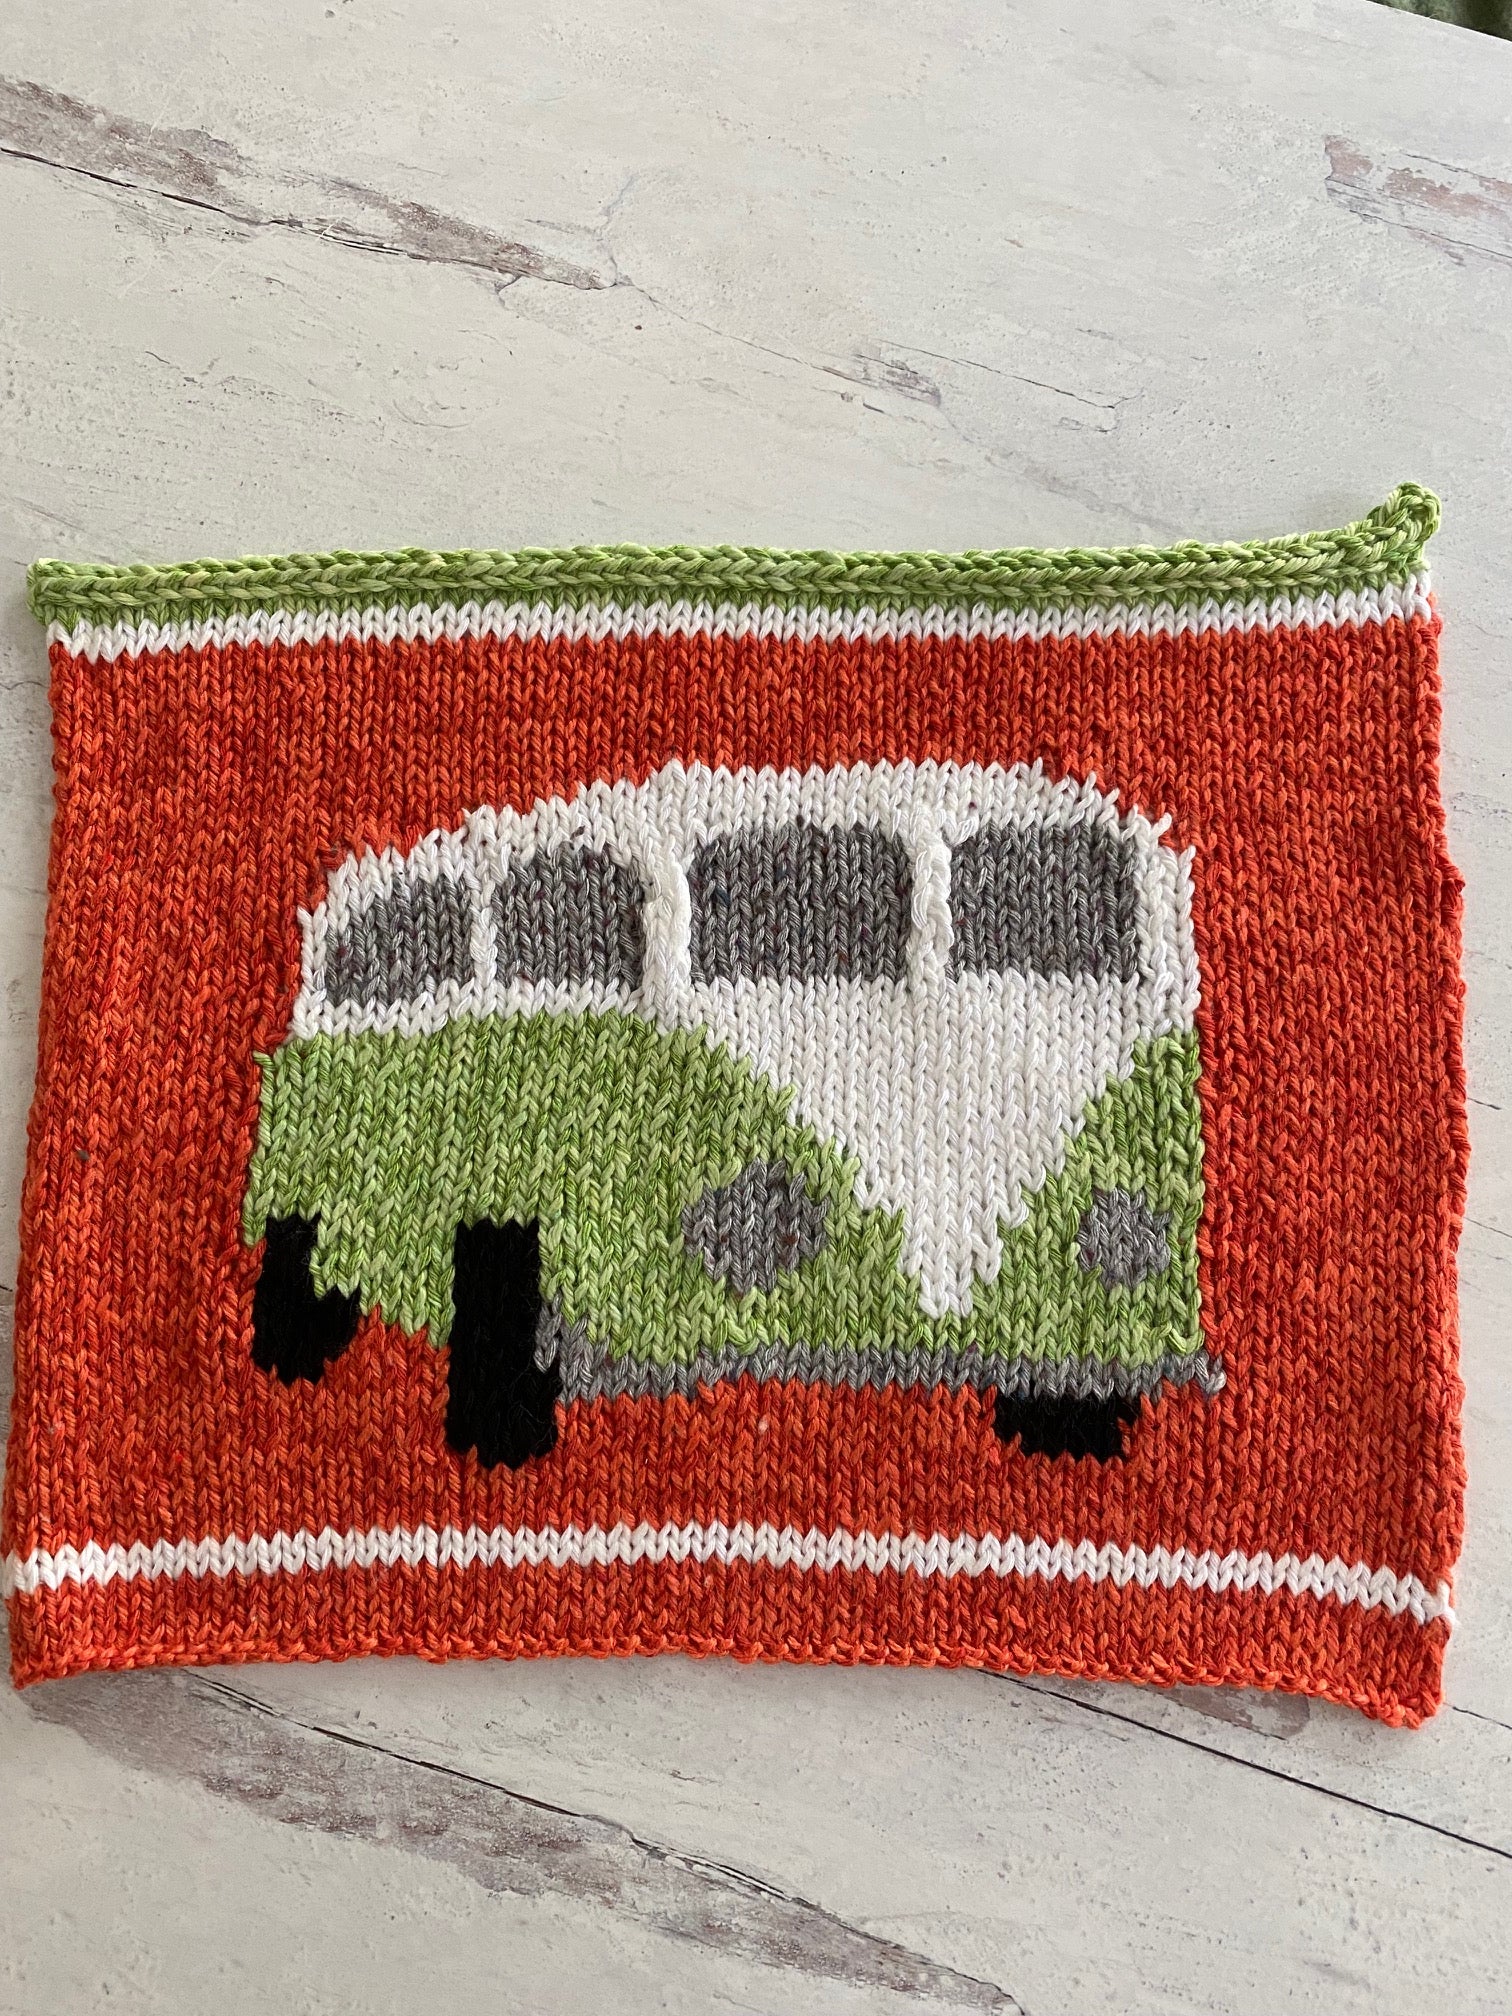
Here is the finished front panel, front and back. There are a lot of ends to weave in, but it’s an opportunity to snug up any loose spots at the color changes. Don’t forget the blocking step! A light steam or a damp cloth placed on top of the pinned out panel really evens out the stitches.

Look at those stitches post-blocking!
We hope this inspires you to cast on the Feeling Groovy Tote and give the intarsia technique a try! We’d love to see your projects and hope you’ll tag us on Facebook and Instagram in all stages of progress.