Swatching tips from Kraemer Yarns
Swatching can be a divisive topic in the yarn world. There are knitters who always swatch and knitters who never swatch. We’d like to use this blog post today to encourage you to give swatching a chance, and to swatch properly, so that you have the best chance possible of a successful finished object in your favorite Kraemer Yarn that is the size you expect!
Swatch Big!
While it is tempting to knit a few stitches for a few rows and call it swatching, it’s not enough to get an accurate idea of the gauge that will result from the unique combination of needle + yarn + the way YOU knit. You need at least a 4-inch square as this avoids edge distortions and for you to relax into the knitting process. Also resist the temptation to measure before your swatch is bound-off. In progress swatches won’t be accurate! If you’re concerned that you need to be conservative with your yardage, know that you can always unravel the swatch later if you need it!

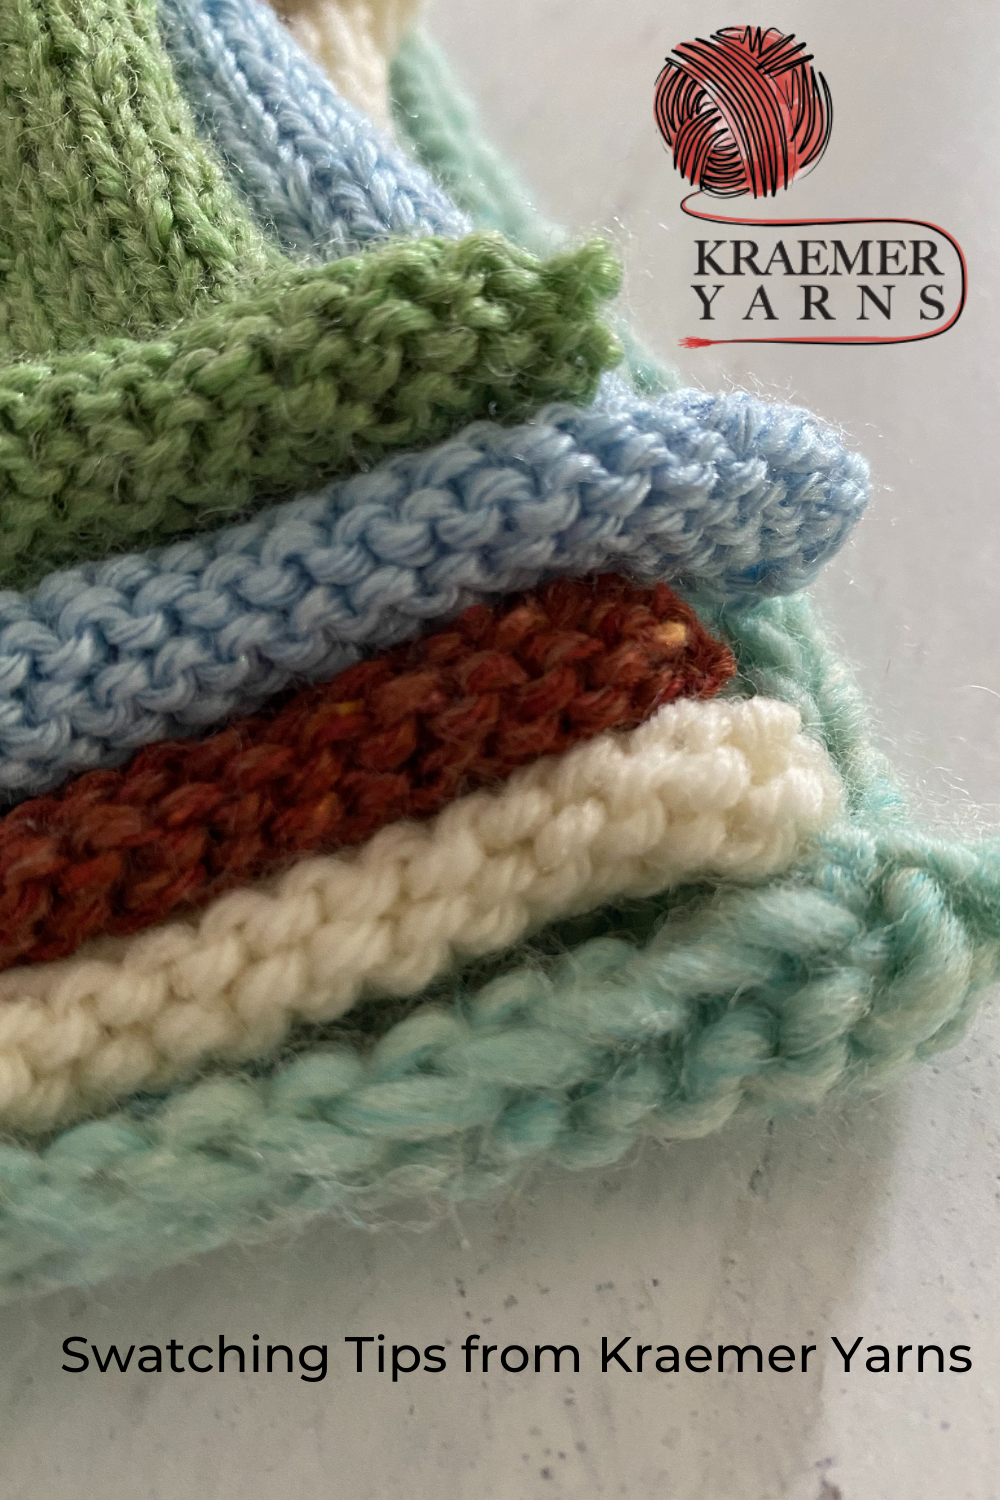
Here is our pre-blocked swatch pile of Mauch Chunky (bottom), Naturals Judy, Tatamy and Perfection Sport.
Wash and block your swatch
After you’ve knit your swatch, you’ll want to give it a bath. This step helps relax the stitches, removes dirt or oils your hands may have gotten on to the yarn, and evens everything out. You’ll find it is easier to measure your stitch and row count from a flat fabric too! Follow the directions on the yarn label and consider how you will wash the final garment. We soaked our swatches in Eucalan and tepid water for 15 minutes, gently squeezed out the water, laid them flat and pinned them out, but did not stretch them.

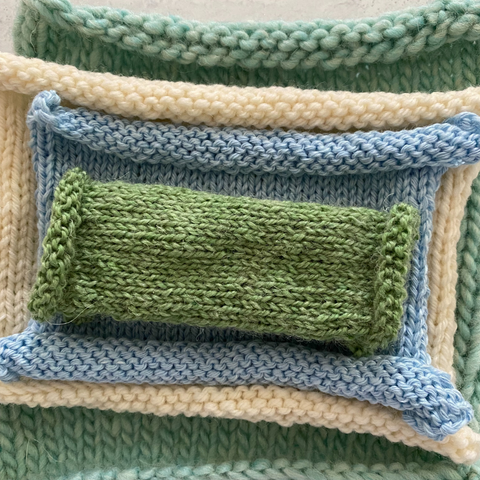
Clockwise from the top left: Perfection Sport, Tatamy, Naturals Judy, Naturals Judy (We’ll explain why there are two in a moment!), Mauch Chunky, Tatamy Tweed.
Measure your swatch
To take accurate measurements, you’ll want to use a wooden, metal, or acrylic ruler. Avoid a flexible measuring tape as they can stretch over time! Count the number of stitches within 4 inches of the center of the fabric. This is your stitch gauge over 4 inches. If you need the gauge per 1 inch, divide that stitch count by four. Row gauge measurements are similar, count the number of rows within four inches and if needed, divide by four.

Your swatch should be large enough so that you can measure your gauge in a few spots! Compare your gauge to that of the pattern - did you meet it? Do you have more or less stitches per inch? If you have more, swatch again with a larger needle. If you have less, swatch again with a smaller needle.
A note on the Naturals
Kraemer Yarns Naturals are undyed yarns. If you choose to use these yarns, be mindful to wash the yarn first, before dyeing and swatching! Even if you are not dyeing the yarn and will be using it in the undyed state, the yarn should still be washed before you swatch.
For these swatches of Judy, we cast on 35 stitches and knit with US7 needles. The swatch on the top is straight from the hank, swatched, and blocked. Before knitting the swatch on the bottom, we soaked the yarn to wash it, let it air dry, then swatched and blocked.

|
Gauge |
Unwashed Yarn |
Washed Yarn |
|
After Blocking |
20 st / 4 inches |
19.5 st / 4 inches |
The difference of half a stitch may not seem like much but it does add up!
Save your swatch
When your project is complete, saving the swatch is a good idea as you’ll have a bit of yarn available should any repairs be needed if there’s a snag in the future! Over time, you could also consider combining your swatches into a one-of-a-kind blanket, or swatch shrug like Vickie Howell recently shared.
Remember, multiple knitters do not knit exactly the same and the individual differences result in different gauges. Knowing how the yarn works up when you use it is what is important! If the same knitter were to knit these swatches again in a few months, it is possible their gauge would be different, given how tense or relaxed they are when knitting.
Your future self will thank you for taking the time now to learn all you can about the fabric you’ll create.


